Make a Gemstone in Affinity Designer
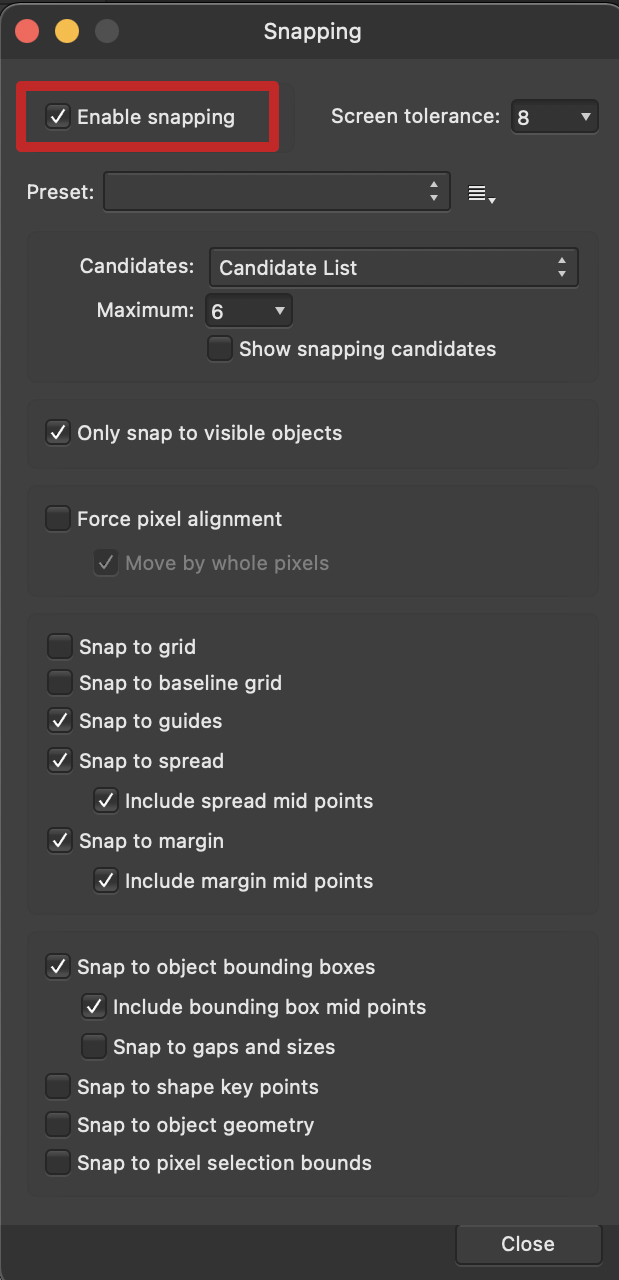
First, go to View > Snapping Manager and make sure you have snapping enabled.

On the toolbar, under the Shape Tool, chose the Triangle Tool.

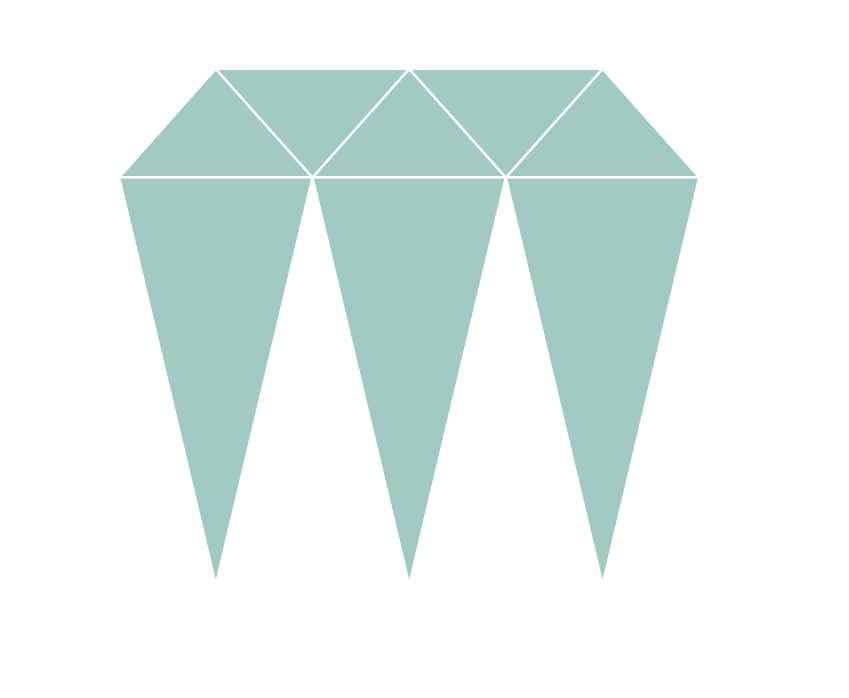
Make a triangle (a little wider than taller). Then make four copies of that triangle and flip two of them horizontally. Making sure you “snap” the triangles to each other (they should align perfectly to each other), arrange them as shown below.

Next make three triangles (much taller than wider) and snap them to the other triangles as shown below.
Convert the three tall triangles to curves.

Select the three tall triangles. Click on the Node (White Arrow) Tool and then select the three nodes at the bottom of the triangles.

Click the Alignment button on the menu bar and select Align Center.

Your gemstone shape should now be complete! You can further enhance your image by changing the colors on each triangle and using the Gradient Tool.


