Make a DIY Half Letter-Size Booklet (Imposition) Using Affinity (2025)
NOTE: Requires a printer that can print on both sides of a piece of paper (double-sided printing).

Open the Affinity app in the Layout mode.
When creating your document, set the:
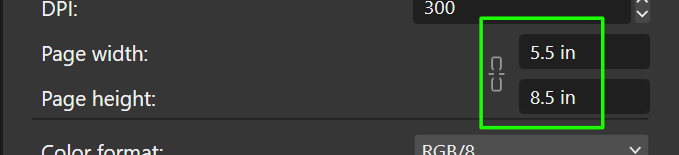
Page Width to 5.5”
Page Height to 8.5”

When you are ready to print your booklet, go to File —> Print.. (or Ctrl + P) and in the Layout section, change the following:
Double-sided —> Flip short side
Model —> Booklet (NOTE: If you don’t see this option, make sure your printer is on and is connected to your computer)
AFFINITY PUBLISHER INSTRUCTIONS v2.5.2 (June 2024)
This process only works if your printer is able to print on both sides of a paper (print double-sided).
This process demonstrates a booklet made from US Letter-sized paper (8.5” x 11”).
Your booklet must have a page count divisible by 4 (i.e. 4, 8, 12, 16, etc.). If not, round up to the nearest multiple of 4 (the extra pages will be blank).

When creating a new document, set your page width to 5.5” and length to 8.5”. DPI (dots per inch) should be 300.

These should be the default settings.

Change Double-sided = “Flip short side” and Model = “Booklet”.
AFFINITY PUBLISHER INSTRUCTIONS (Before v2.5.2)
(The main procedure is the same, but the UI is different.)
This guide will show you how to make a DIY 5.5” x 8.5” booklet by folding letter-size (8.5” x 11”) papers in half using Affinity Publisher.

This kind of printing where the software arranges the pages into the correct order when the paper is folded is called imposition. And it can save you a lot of time and headache compared to trying to do it yourself manually.
Before starting, you’ll need to make sure that your printer can print on both sides or is capable of 2-sided printing.
Open Affinity Publisher and create a new document (Command+N or Ctrl+N for Windows users).

Change “Number of pages” to a number divisible by 4. If you are short, just round up to the nearest number divisible by 4 (example: you have 9 pages, enter “12”. The last 3 pages will be blank).
Page dimensions should be 5.5” by 8.5”. DPI should be set to 300. Adjust the margins, bleed, etc. as necessary.
Add the content of your booklet (text, images, etc.)
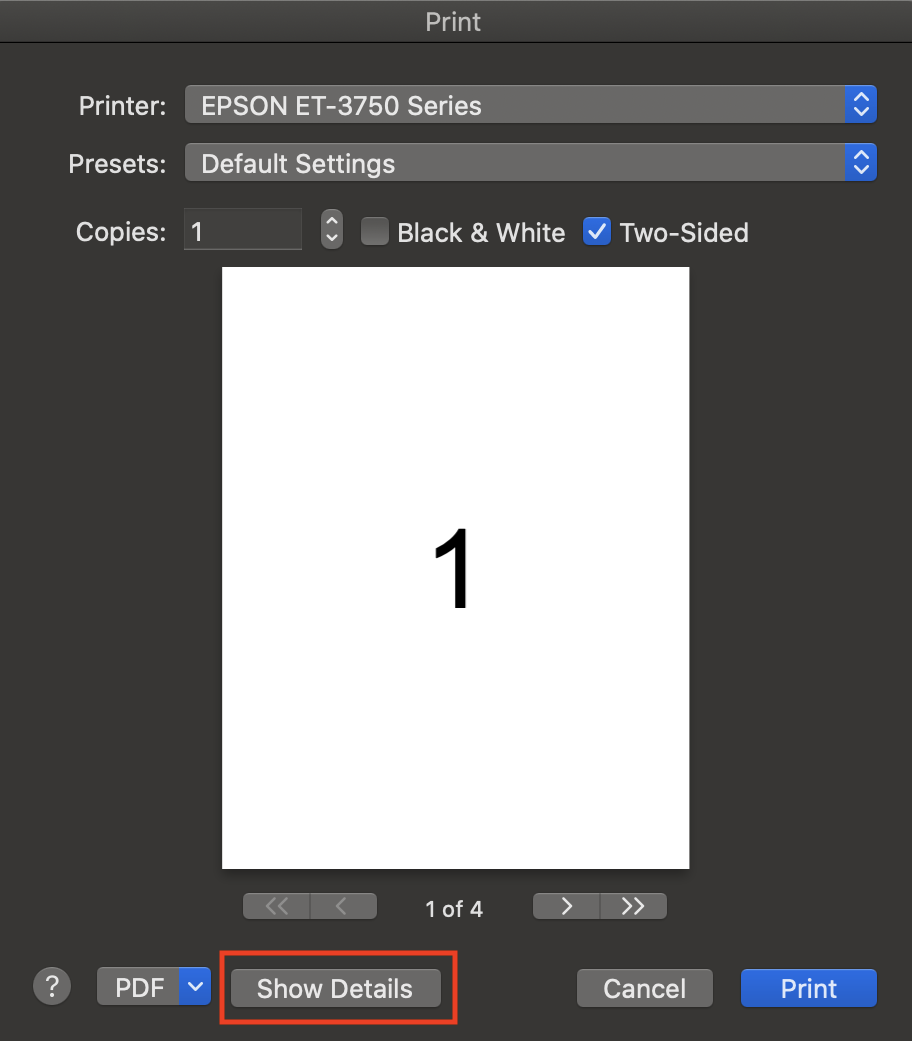
When you’re ready to do a test print, go to File > Print. If you get this window, click Show Details. Otherwise, skip to the next step.
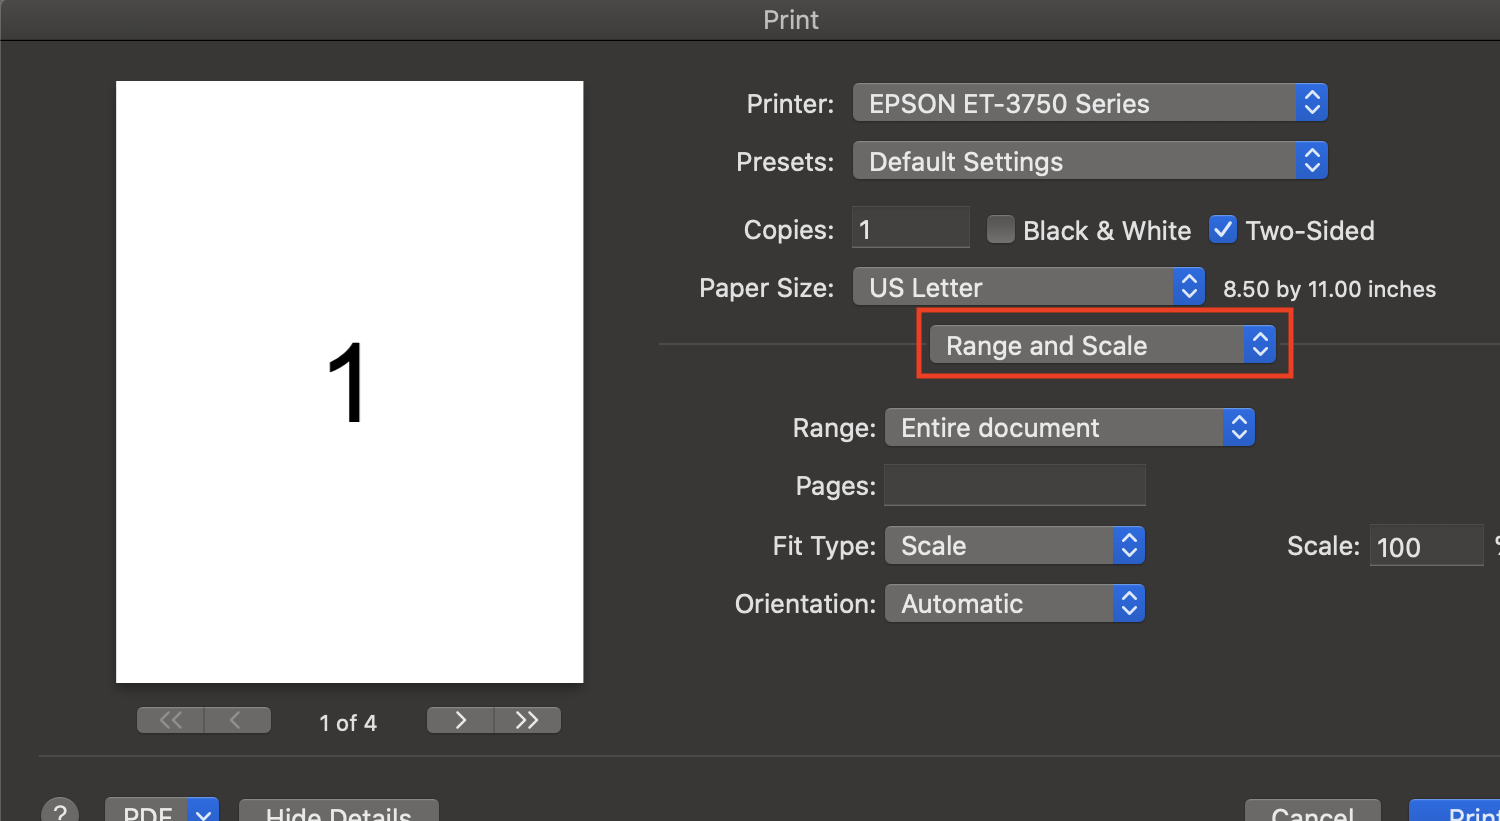
Click on Range and Scale and change it to Document Layout.

Change Model to Booklet. Then click on Document Layout and change it to Layout.

Change Two-Sided to Short-Edge binding. That should do the trick. Go ahead and do a test print run!
After the pages are printed, and you’ve folded them in half, you should end up with a perfectly ordered booklet. Pair this with a long reach stapler and you can now make nifty take-out menus, event programs, school projects, short stories, and a million other things!